

project
Early wildfire detection: a detector on any camera, one integrator to weigh them all
Edge wildfire detection and evidence fusion: a detector on any camera, as small as an ESP32, one integrator to weigh their reports. Kernwerk.
A smart gym vending system with custom software, cashless payments, real-time inventory tracking, remote monitoring, and sales analytics for fitness centers.
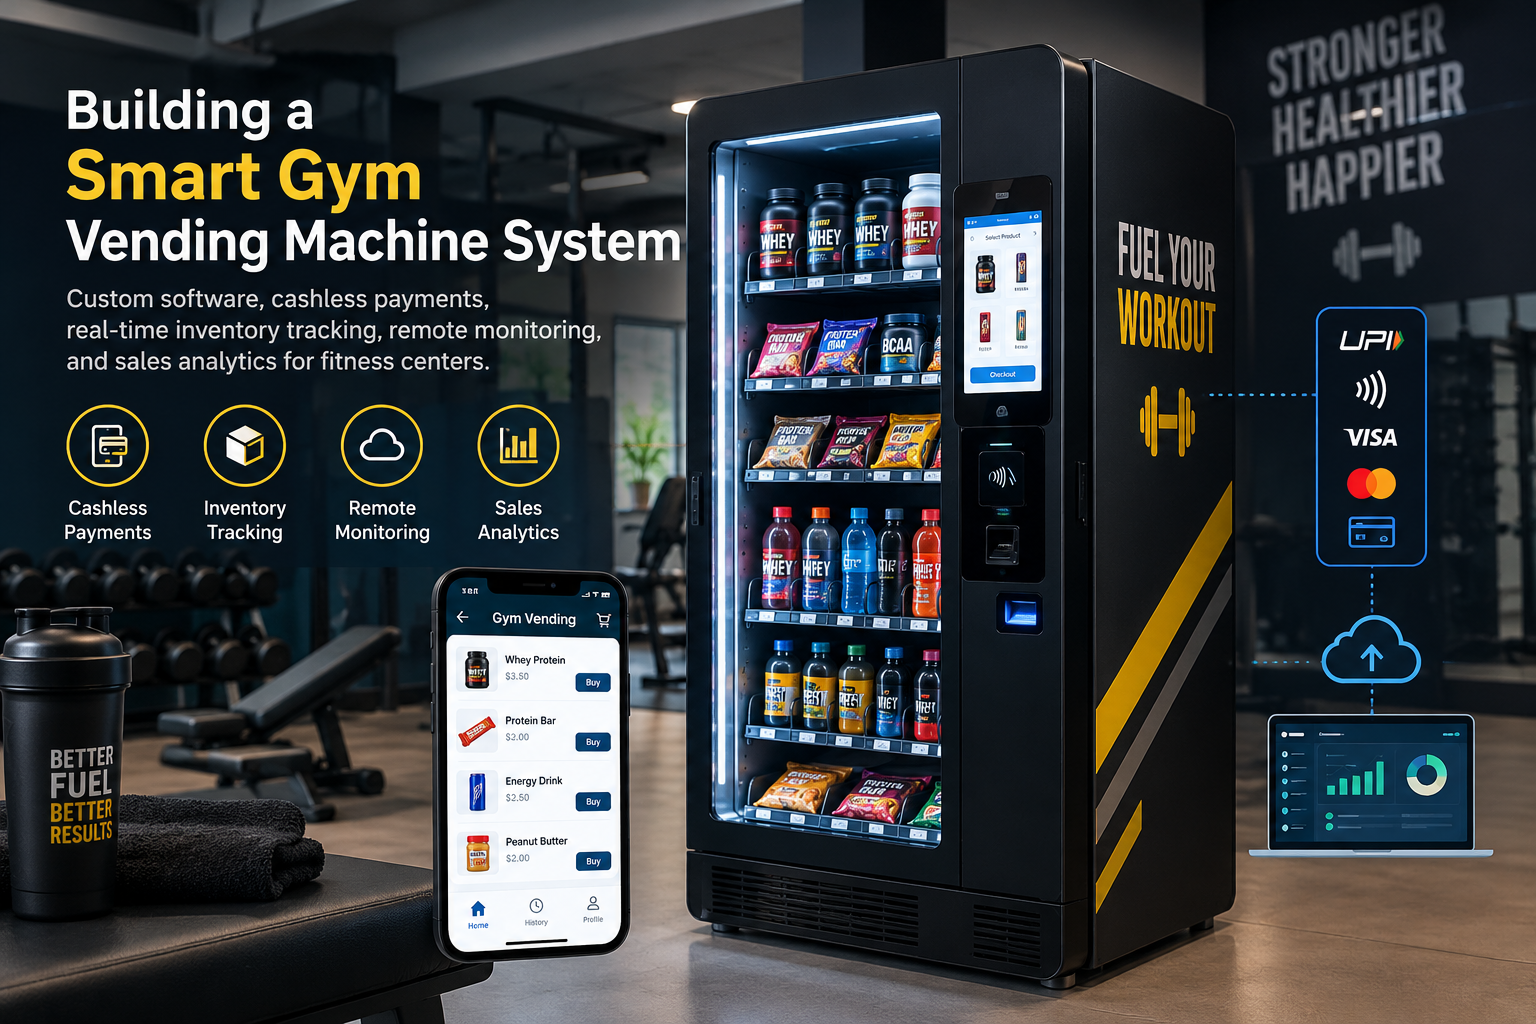
We've shipped firmware for fitness equipment, industrial sensors, and a few vending machines over the years. When a client asked us to build a smart gym vending machine that could handle protein shakes, pre-workout, and the usual snacks without the usual coin-jam headaches, we said yes before they finished the sentence.
A gym vending machine isn't just a box with a conveyor. It has to work around sweaty hands, spotty Wi-Fi in basement gyms, and members who expect tap-to-pay to just work. Here's how we approached it, and what we'd do differently next time.
Before writing a line of firmware, get these sorted:
- Hardware platform: We used an ESP32-S3 for the main controller (Wi-Fi + BLE + enough RAM for a TLS stack) and an nRF52840 for the BLE payment peripheral. The nRF52 handles NFC reads and BLE pairing without dragging the ESP32 into low-power states it doesn't handle well.
- Payment terminal: A certified EMV terminal with a serial or USB interface. Don't roll your own card reader unless you enjoy PCI audits.
- Motor drivers: DRV8825 or TMC2209 steppers for the spiral coils. We went with TMC2209 for the quiet operation — gyms are loud, but a vending machine whining at 7 AM is still annoying.
- Toolchain: Zephyr RTOS on the nRF52, ESP-IDF on the ESP32-S3. KiCad 8 for the custom carrier board.
- Backend: MQTT broker (we used EMQX) plus a small REST API for inventory and pricing.
We designed a 4-layer PCB in KiCad that sits between the ESP32-S3 dev module and the rest of the machine. It breaks out UART to the payment terminal, I2C to a small OLED for the UI, and GPIO to the eight stepper drivers. The board also has a 12V-to-5V buck converter and a beefy TVS diode on the 12V rail — vending machines see ugly transients when the compressor kicks on.
The ESP32 runs the main state machine: idle → item selected → payment requested → dispense → confirm. We wrote it in C using ESP-IDF, with FreeRTOS tasks for the UI, the MQTT client, and the motor controller.
One thing we learned fast: never block the main loop waiting for a payment response. We push payment requests to a queue and let the UI keep rendering. If the terminal takes more than 8 seconds, we show a "still processing" spinner instead of a frozen screen.
The Enclosure and Mechanicals
The dispensing mechanism is a standard spiral coil setup, but we 3D-printed a custom bracket for the payment terminal so it sits at a 15-degree angle. Easier to tap when your hands are shaking after a set of deadlifts.
We ran three rounds of testing:
- Bench testing: 500 dispense cycles with a script that randomly failed payments, dropped Wi-Fi, and cut power mid-dispense. The machine recovered every time without losing a sale.
- Environmental: 40°C and 85% humidity for 72 hours. The ESP32-S3 stayed under 65°C. The buck converter was the warmest part at 48°C.
- Field testing: Two machines in a Bangalore gym for six weeks. 1,847 transactions, 12 offline sync events, zero lost sales. Average payment-to-dispense time: 4.2 seconds.
We're working on three things for v2:
1. Matter support so the machine can report inventory to a gym's smart building system without a custom integration.
2. On-device computer vision using an ESP32-S3 with a small camera module to detect when a coil is empty before the customer pays.
3. Dynamic pricing based on time of day — cheaper protein bars at 2 PM, full price at 6 PM.
A few things we leaned on:
- Zephyr's Discord for nRF52 BLE questions. The Nordic engineers there are genuinely helpful.
- ESP-IDF GitHub issues — search before posting, someone has hit your problem.
- r/embedded for PCB review feedback. We got a great tip about adding a ferrite bead on the UART line to the payment terminal.
- MDB/ICP spec (the vending industry protocol) if you're interfacing with existing machines. It's old, but it's everywhere.
Edge wildfire detection and evidence fusion: a detector on any camera, as small as an ESP32, one integrator to weigh their reports. Kernwerk.

a smart speaker turned into an AI assistant.