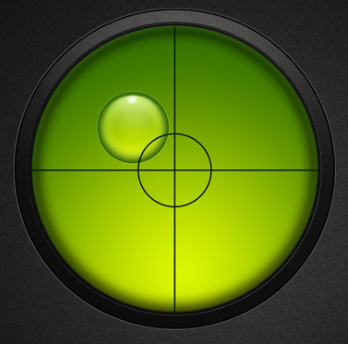
At first, I wanted to make a digital level, like this:
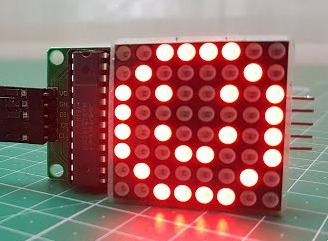
With a pixel matrix like this:
But I couldn't find the right library & I didn't feel like reading through the component spec.
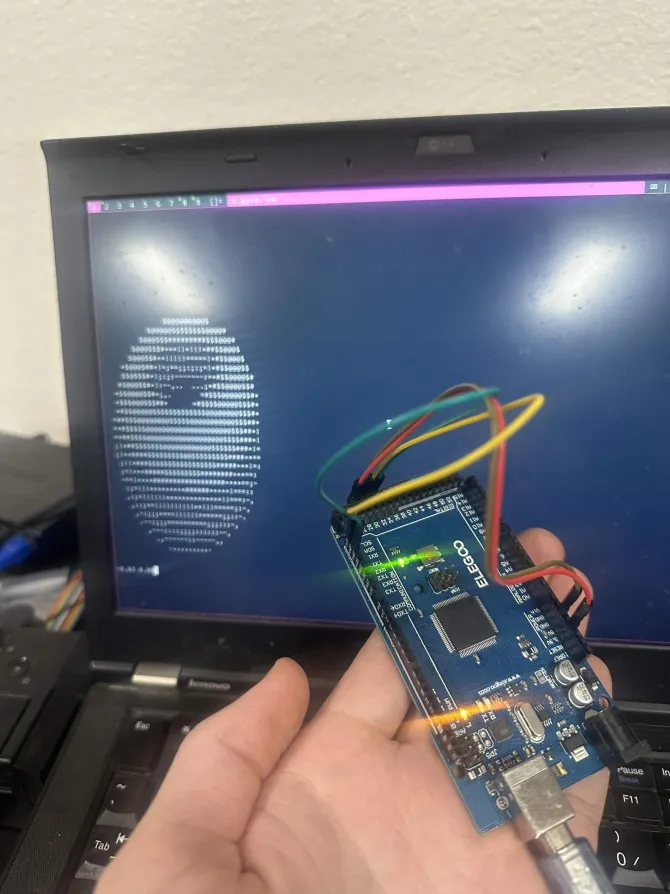
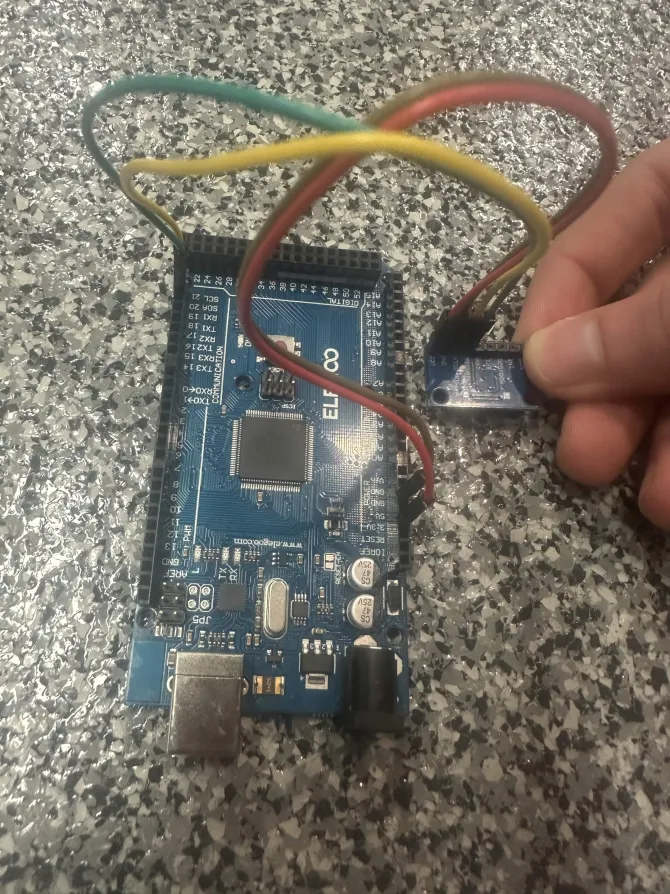
I had remembered seeing renderings of rotating donuts, as an introduction to graphics programming, and figured it'd be cool to see the donut's orientation reflected by the gyroscope.
I found this article which discusses the math - I just copied the code & "ported it to UNIX"(made it easier to use in a UNIX environment). Here is the code
c
#include<math.h>#include<stdio.h>#include<sys/ioctl.h>#include<unistd.h>#include<stdlib.h>#include<string.h>#define THETA_SPACING 0.07f#define PHI_SPACING 0.02f#define PI 3.14159265358979323846#define R1 1.0f#define R2 2.0f#define K2 5.0fintmain(int argc, char **argv){
char *s;
int n;
float K1, A, B;
char *output;
float *zbuffer;
structwinsize w;
ioctl(STDOUT_FILENO, TIOCGWINSZ, &w);
if ((s = getenv("LINES"))) {
w.ws_row = atoi(s);
}
if ((s = getenv("COLUMNS"))) {
w.ws_col = atoi(s);
}
K1 = w.ws_col*K2*3/(8*(R1+R2));
output = malloc(sizeof(char)*w.ws_row*w.ws_col);
zbuffer = malloc(sizeof(float)*w.ws_row*w.ws_col);
A = 0;
B = 0;
if (argc >= 2) {
A = strtof(argv[1], NULL);
}
if (argc >= 3) {
B = strtof(argv[2], NULL);
}
memset(output, ' ', sizeof(char)*w.ws_row*w.ws_col);
memset(zbuffer, 0, sizeof(float)*w.ws_row*w.ws_col);
for (float theta = 0; theta < 2*PI; theta += THETA_SPACING) {
for(float phi = 0; phi < 2*PI; phi += PHI_SPACING) {
float circlex = R2 + R1*cos(theta);
float circley = R1*sin(theta);
float x = circlex*(cos(B)*cos(phi) + sin(A)*sin(B)*sin(phi)) - circley*cos(A)*sin(B);
float y = circlex*(sin(B)*cos(phi) - sin(A)*cos(B)*sin(phi)) + circley*cos(A)*cos(B);
float z = K2 + cos(A)*circlex*sin(phi) + circley*sin(A);
int xp = (int) (w.ws_col/2 + K1*(1/z)*x);
int yp = (int) (w.ws_row/2 - K1*(1/z)*y);
if (xp < 0 || yp < 0 || xp > w.ws_col || yp > w.ws_row) {
continue;
}
float L = cos(phi)*cos(theta)*sin(B) - cos(A)*cos(theta)*sin(phi) - sin(A)*sin(theta) + cos(B)*(cos(A)*sin(theta) - cos(theta)*sin(A)*sin(phi));
if (L > 0) {
if((1/z) > zbuffer[xp+(yp)*w.ws_col]) {
zbuffer[xp+(yp)*w.ws_col] = (1/z);
if (xp > 0 && yp > 0) {
output[xp+((yp)*w.ws_col)] = ".,-~:;=!*#$@"[(int)(L*8)];
}
}
}
}
}
for (int j = 0; j < w.ws_row; j++) {
for (int i = 0; i < w.ws_col; i++) {
putchar(output[i+(j*w.ws_col)]);
}
putchar('\n');
}
}
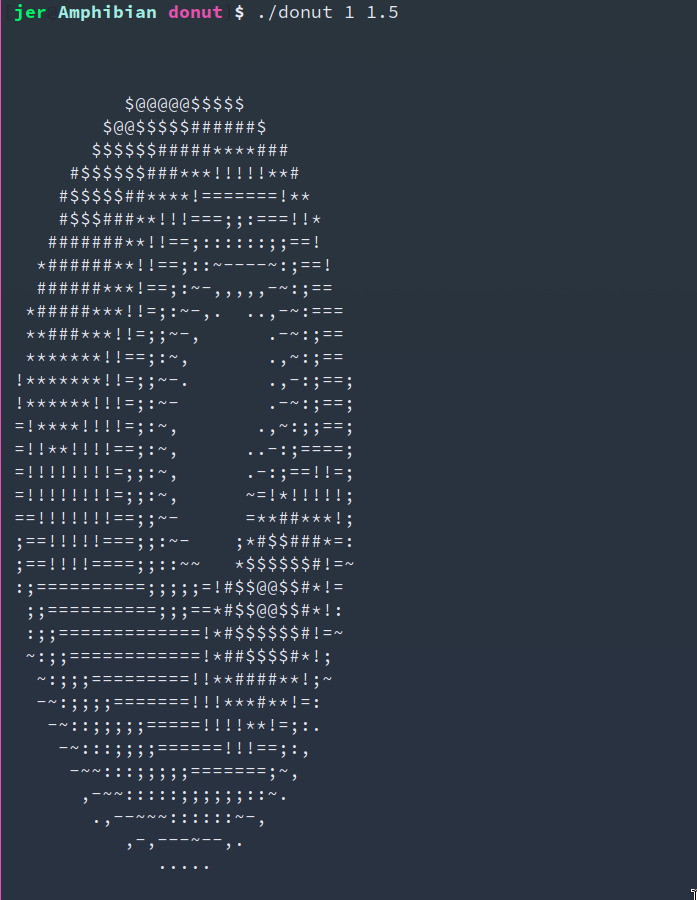
You can compile it(gcc -lm donut.c -o donut) & pass it up to two numbers as arguments like this: ./donut 1 1.5 and you should see the following:
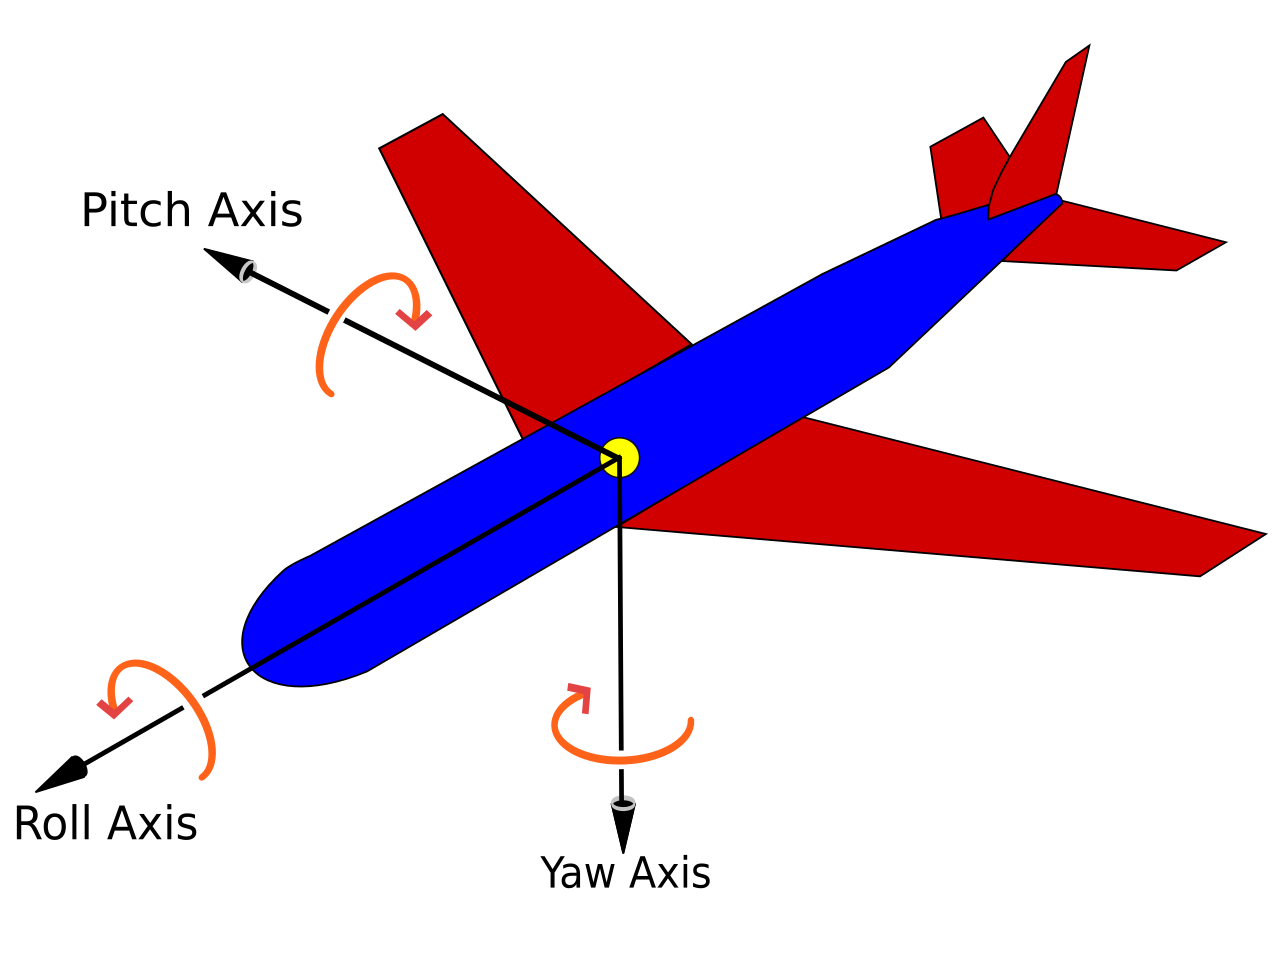
Since it's a donut, I only care about its roll & pitch - not its yaw. A donut looks the same, even if you rotate it N-degrees.
Since we're constantly accelerating upwards, we can use X & Y acceleration values from the gyroscope to estimate the gyroscope's orientation towards the ground. Here's the code to print the X & Y acceleration to the console:


 keenan johnson·


No comments yet. Be the first!